
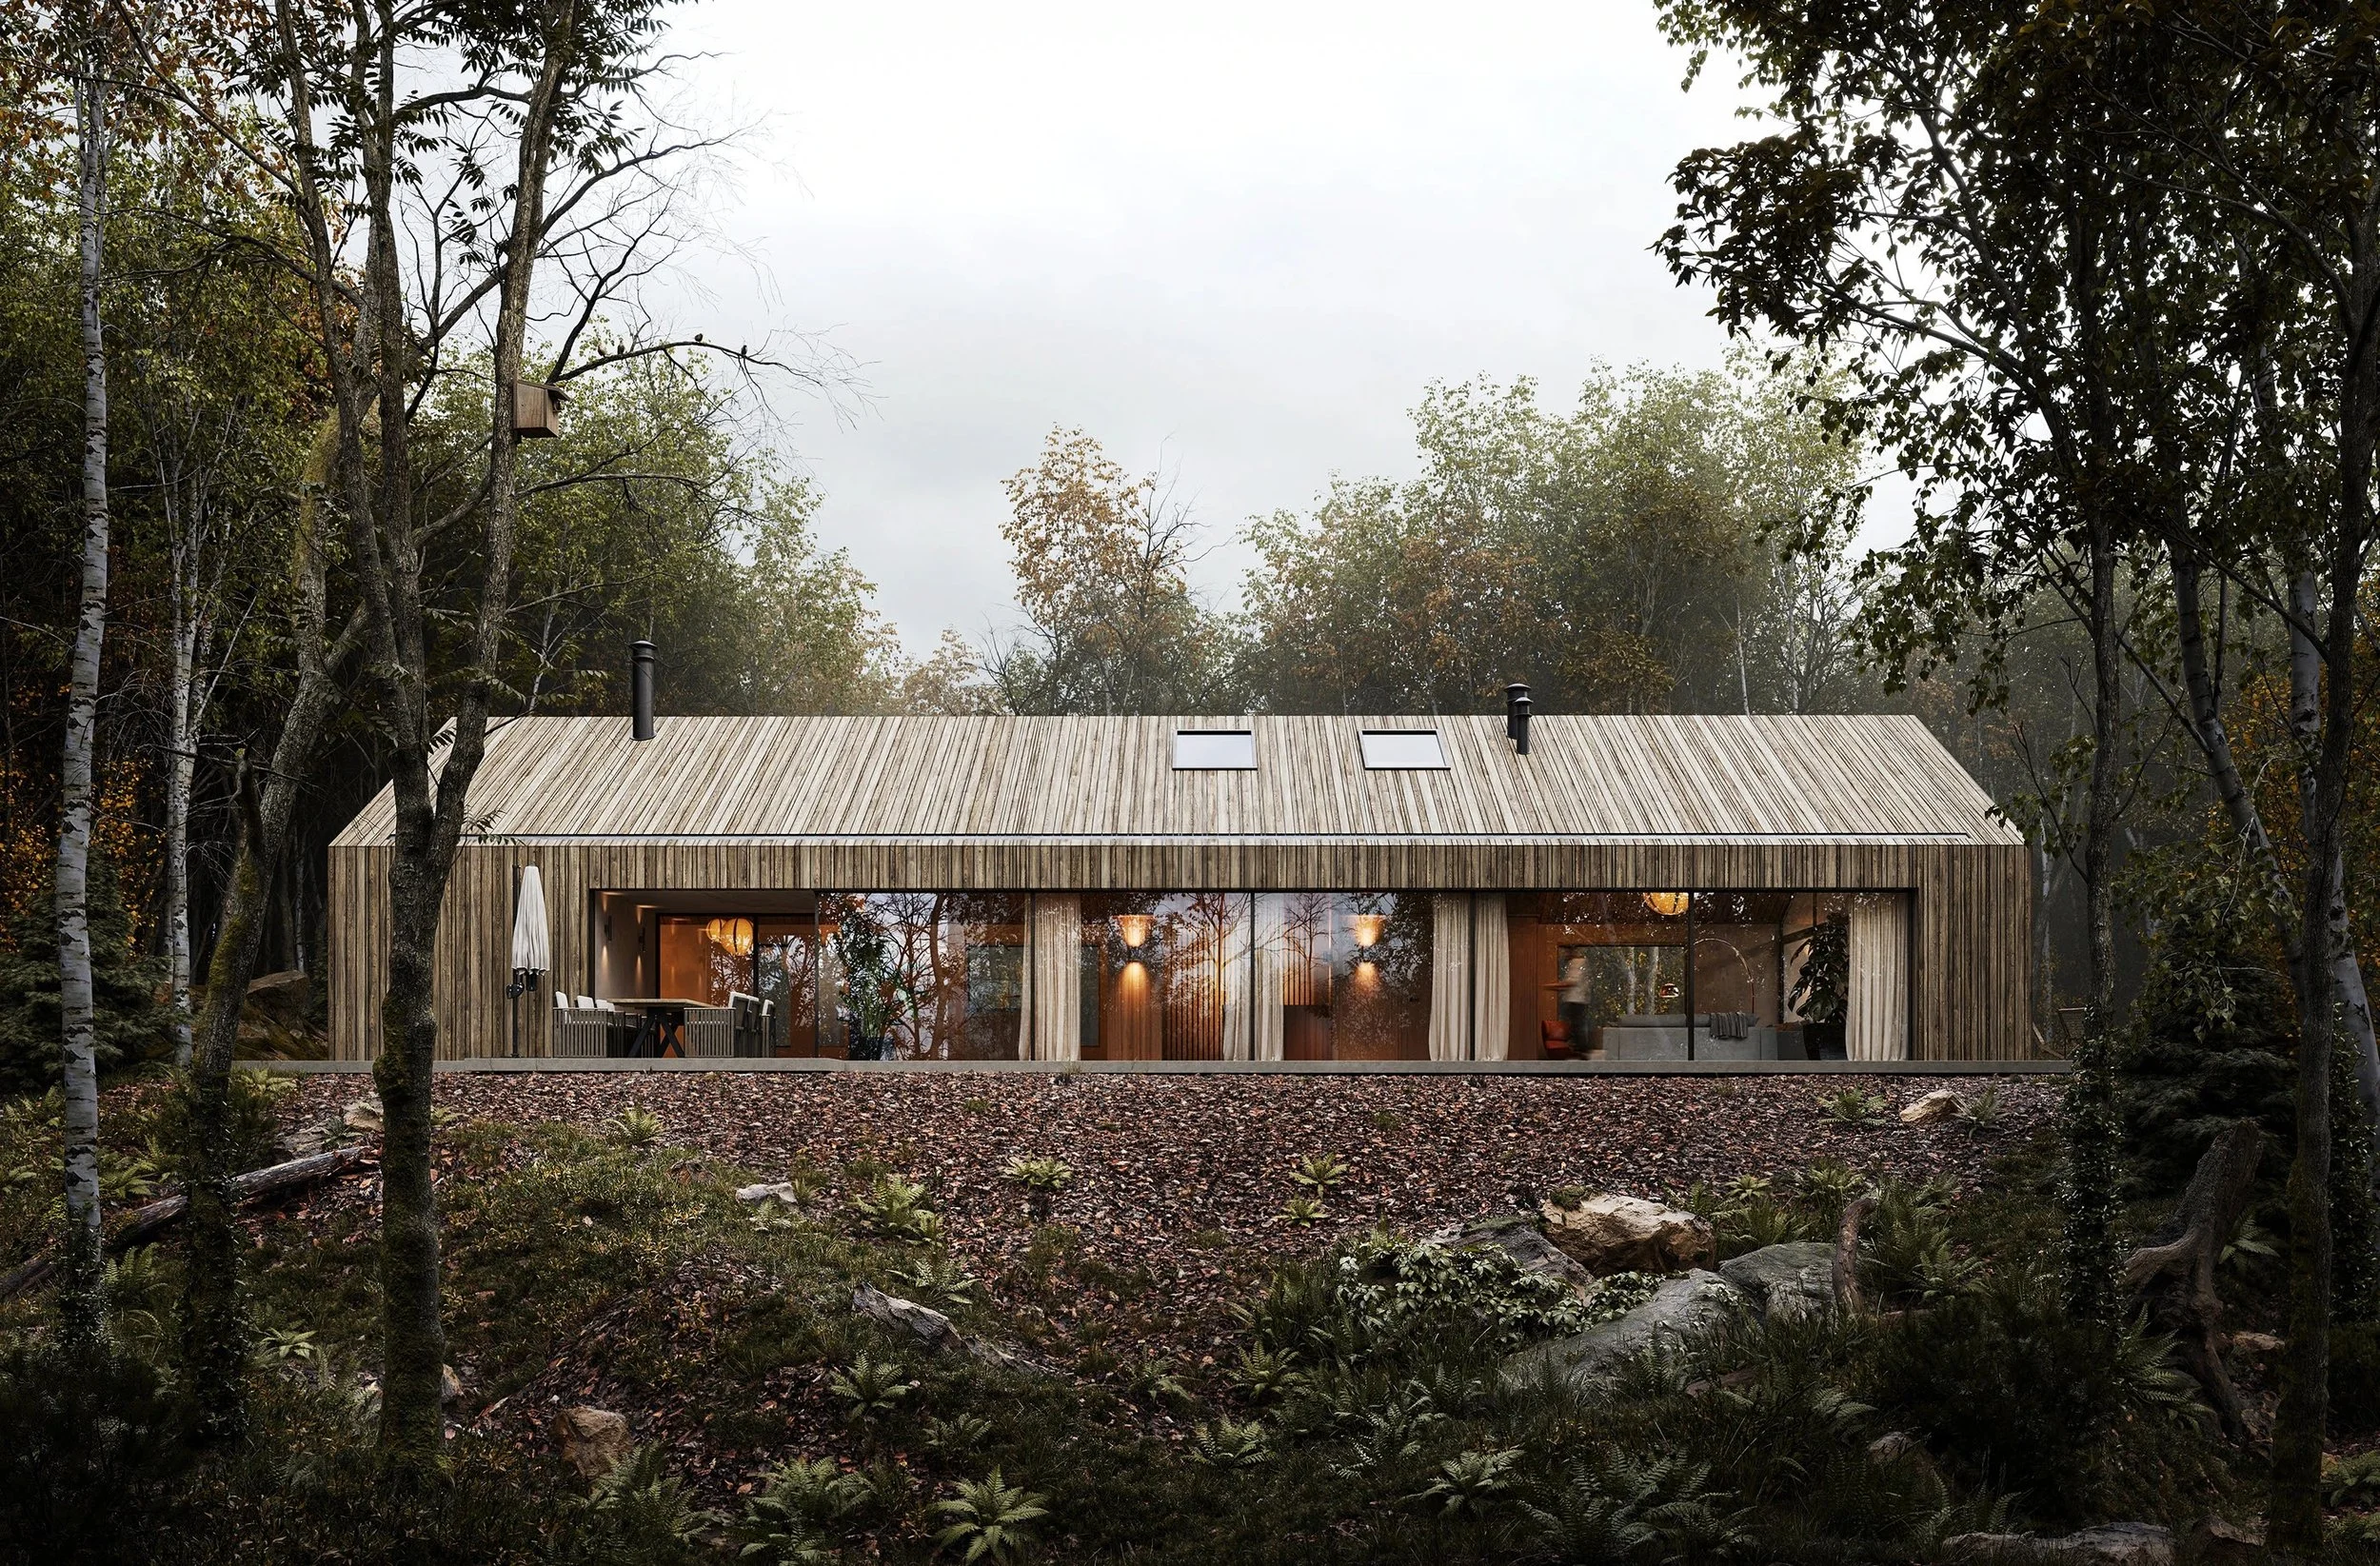
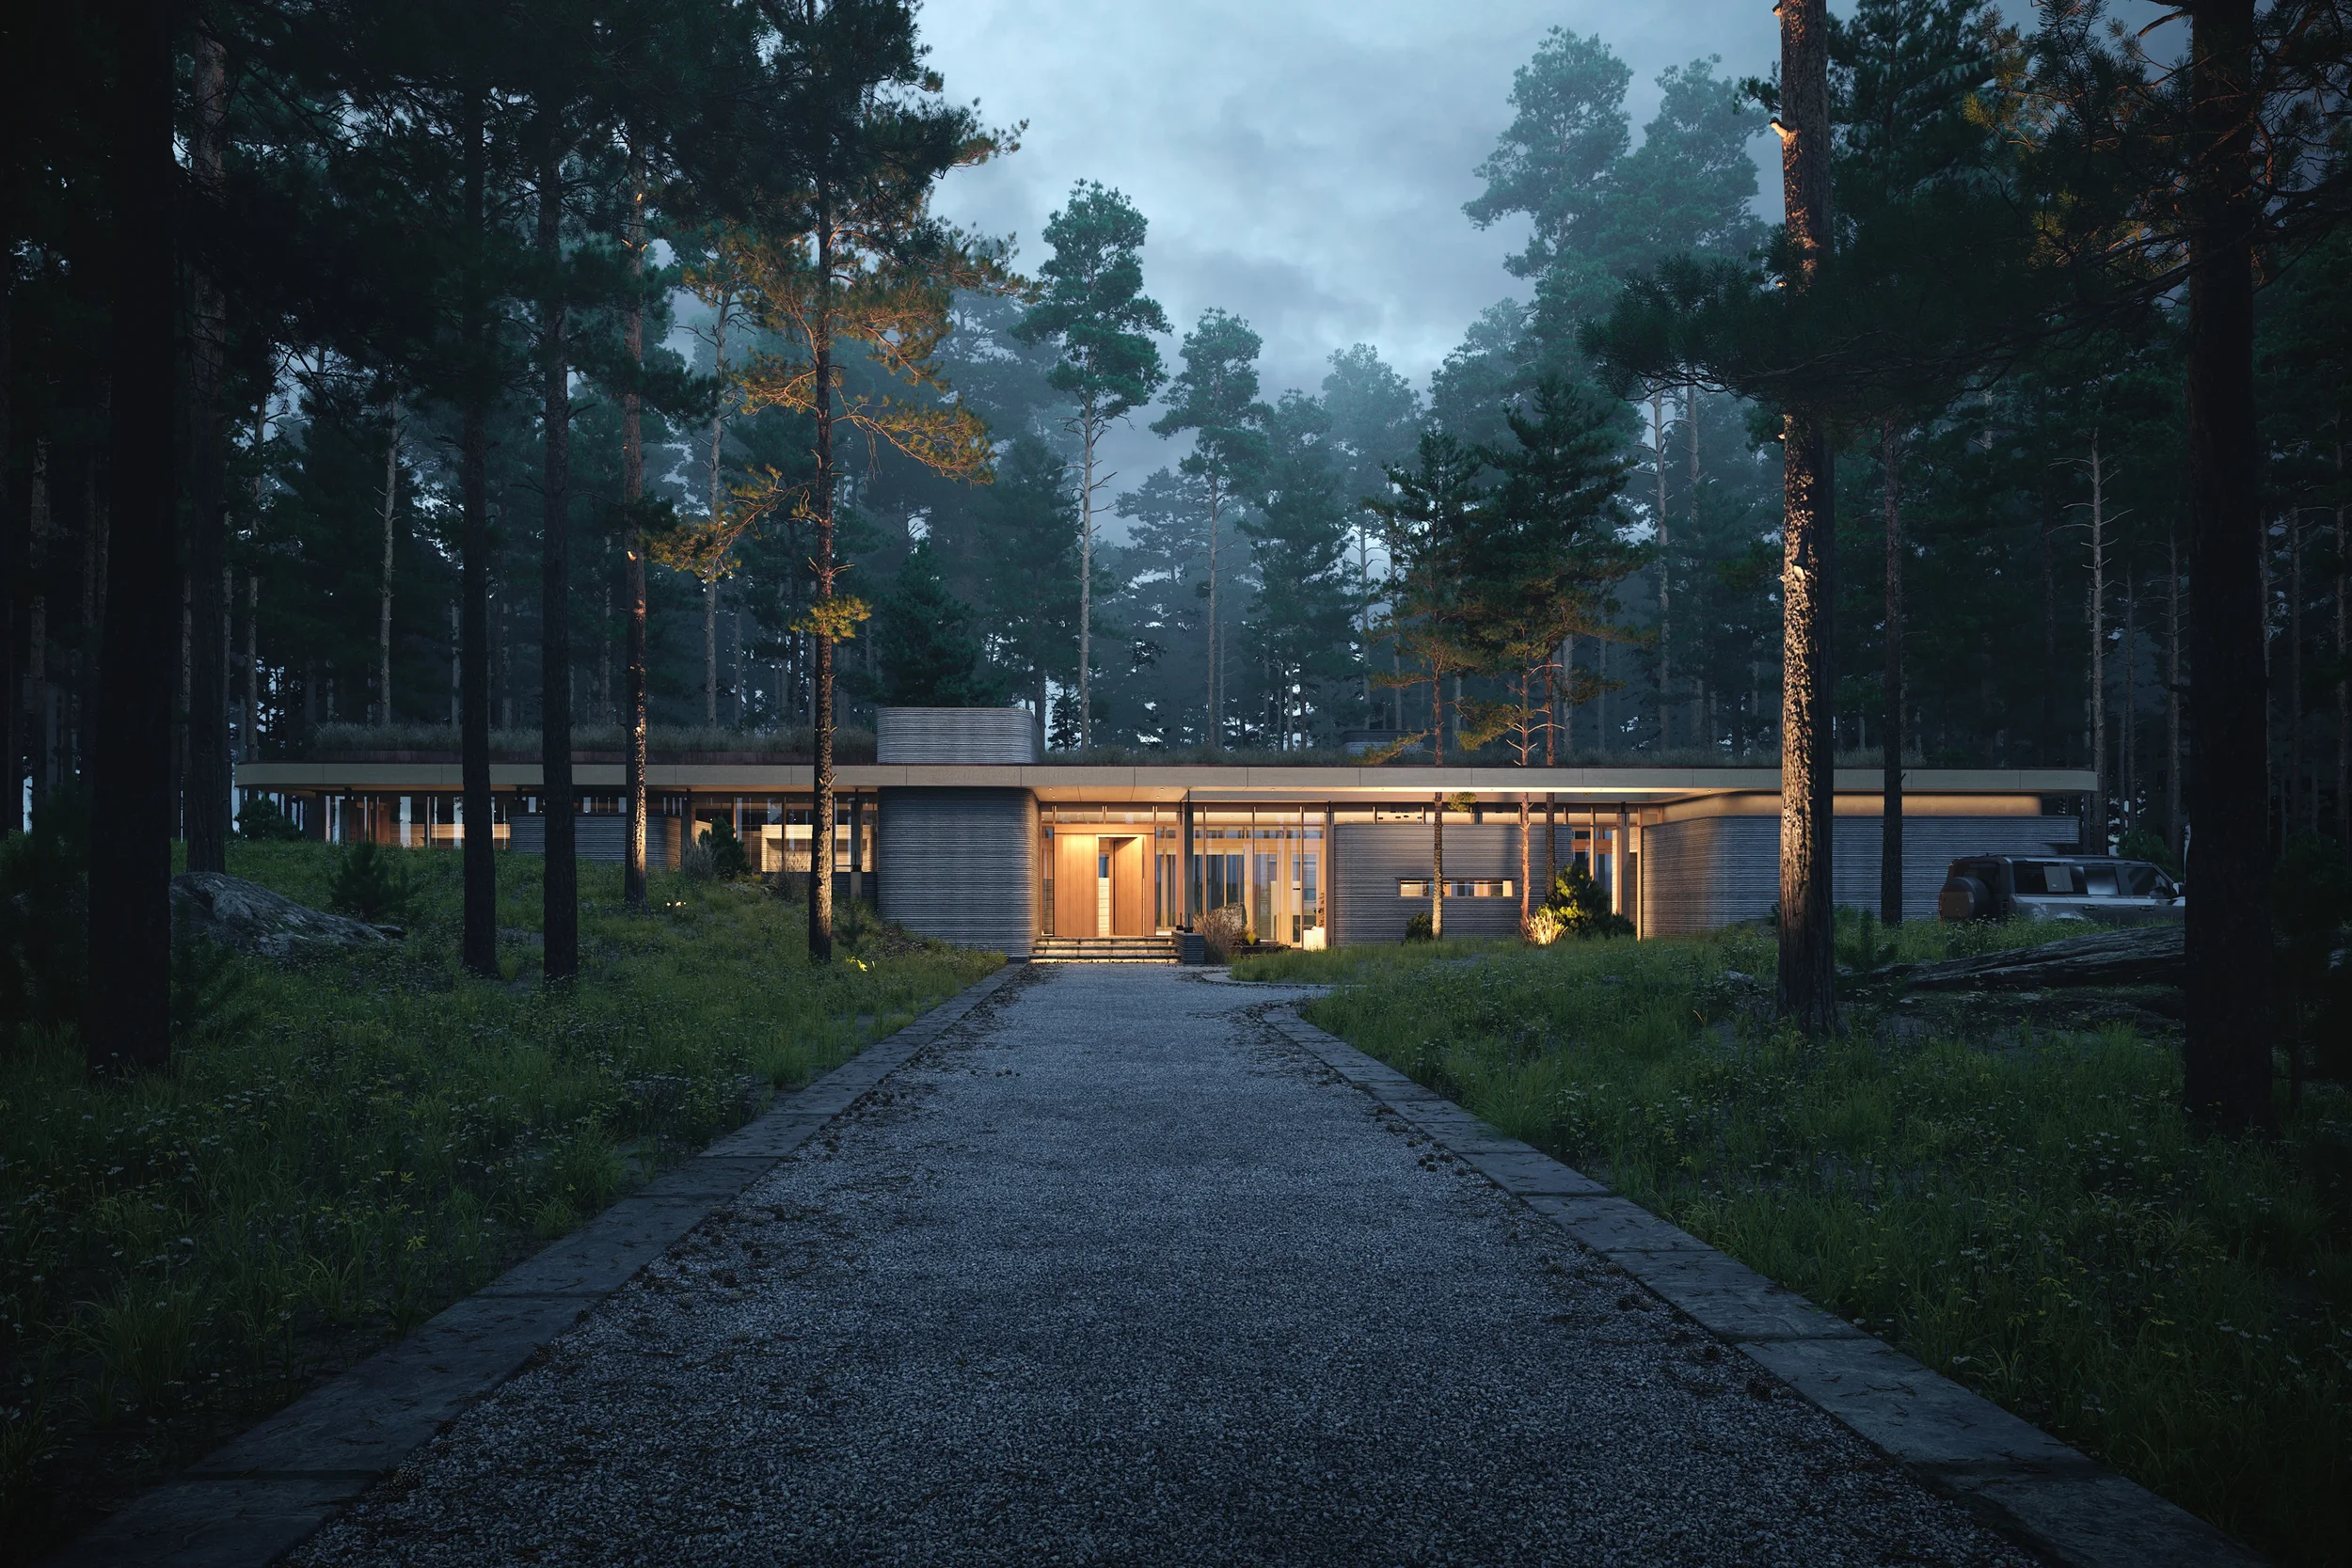
About the course
Architectural exterior visualization.
Exterior Pro is an online course in architectural exterior visualization, built on years of Bobak Studio’s experience in international commercial projects. Everything that usually takes years of trial and error is organized into a clear system — and you apply it to your own project: from the model to a series of atmospheric images, with curator feedback at key stages.
The course isn’t about individual buttons and settings — it’s about how a visualizer thinks: how to build a shot that sells the architecture, how to work with light and atmosphere, how to make a scene feel alive and believable, and how to bring an image to the level international clients expect. You get not a set of lessons but a workflow you can apply to commercial projects right away.
The course is fully recorded: 13 modules and 96 video lessons that you watch at your own pace. It covers the complete exterior workflow — modeling, materials, composition and cameras, lighting, landscaping, entourage, atmosphere and seasons, rendering, AI tools, post-production, project workflow and the business side. Plan on about two months: in plans with support, the curator reviews your Miro board twice a week throughout that time. Each topic goes straight into practice on your own scene, and by the end you’ll have a series of images for your portfolio.
- Who it’s for
- Visualizers, architects, interior designers
- Level
- Intermediate — basic 3ds Max and Corona skills required
- Format
- 13 modules · 96 video lessons
- Tools
- 3ds Max, Corona, Pulze, Forest Pack, RailClone, Photoshop, AI
- Pace
- Self-paced · about 2 months
- Enrollment
- Join the waitlist
Program · 13 modules · 96 video lessons
Course program.
01Introduction & Tools
About the course, setting up 3ds Max and Corona, essential plugins and scripts, Pulze Scene Manager and Render Manager, iToo Forest Pack and RailClone, Eagle for references and Connecter for asset libraries.
023D Modeling of the Exterior
Importing from Archicad, Revit or SketchUp, optimizing CAD models, then modeling the building, terrain, water features, roads, sidewalks and retaining walls.
03Materials & Texturing
Material logic in Corona: concrete, stone and brick, wood, glass, metals, plaster and paint. Layered materials for roads, parking and paving, decals and UVW mapping.
04Composition & Cameras
Composition fundamentals, camera types, framing and balance, the exposure triangle, depth of field and reference analysis.
05Lighting
Lighting theory, natural and artificial light, Corona Sun + Sky, HDRI and LightMix. Daylight, overcast, blue hour, golden hour and dusk scenarios.
06Landscaping & Scattering
Layered scattering with Forest Pack and Chaos Scatter: trees, shrubs, grass, lawns and flowers, vertical greenery and vegetation materials.
07Scene Population & Entourage
Street furniture and small architecture, cars, people, furniture and décor, interiors behind glass, backgrounds, hero objects and scene optimization.
08Atmosphere, Seasons & Storytelling
Storytelling in exterior visualization. Spring and summer, autumn, winter, rain and wet surfaces, fog.
09Rendering
Render settings for stills, render elements and masks, scene optimization and render speed, rendering on a render farm.
10AI
Practical AI in real projects: prompts and reference generation, AI platforms, upscaling, inpainting, character enhancement, generating and integrating people.
11Post-Production
Photoshop fundamentals: color and tone correction, masks, retouching and cleanup, background replacement, adding people, Camera Raw grading and final export.
12Archviz Workflow
The full project workflow: moodboards, folder and file structure, project management and deadlines, client communication, technical tools.
13Business of Archviz
Market and positioning, pricing, client acquisition channels, finances and operations, paperwork, portfolio, website, email and social media.
Your project path · 13 modules
From first scene to portfolio.
- 01 / STEP
Kickoff
Your project, shot concept, moodboard and references. Your workspace is set up and ready.
- 02 / STEP
Scene organization & optimization
Model import, a clean scene structure, proxies and XRef — the foundation for heavy exterior scenes.
- 03 / STEP
Environment
Terrain, roads, sidewalks, retaining walls and water features around the building.
- 04 / STEP
Composition & cameras
Framing, balance, exposure and DOF — angles that sell the architecture.
- 05 / STEP
Lighting & atmosphere
Day, evening and night scenarios, LightMix, fog and the mood of the shot.
- 06 / STEP
Materials
Concrete, stone, wood, glass, metal and layered paving in Corona.
- 07 / STEP
Landscaping & seasons
Layered scattering, trees, shrubs, lawns and seasonal looks.
- 08 / STEP
Entourage
People, cars, small architecture, interiors behind glass and backgrounds.
- 09 / STEP
Rendering
Render settings, render elements, masks and speed optimization.
- 10 / STEP
Post-production
Photoshop and Camera Raw: color grading, retouching, background replacement and final export.
- 11 / STEP
AI
References, upscaling, inpainting, people and short AI videos from your renders.
- 12 / STEP
Portfolio & presentation
Selecting, designing and presenting work that sells you as a specialist.
Curator
Yuriy Bobak.

Founder of Bobak School & Bobak Studio · architect & visualizer · 12 years of experience · clients from 30+ countries · 150+ graduates
Bobak Studio
Curator’s work.
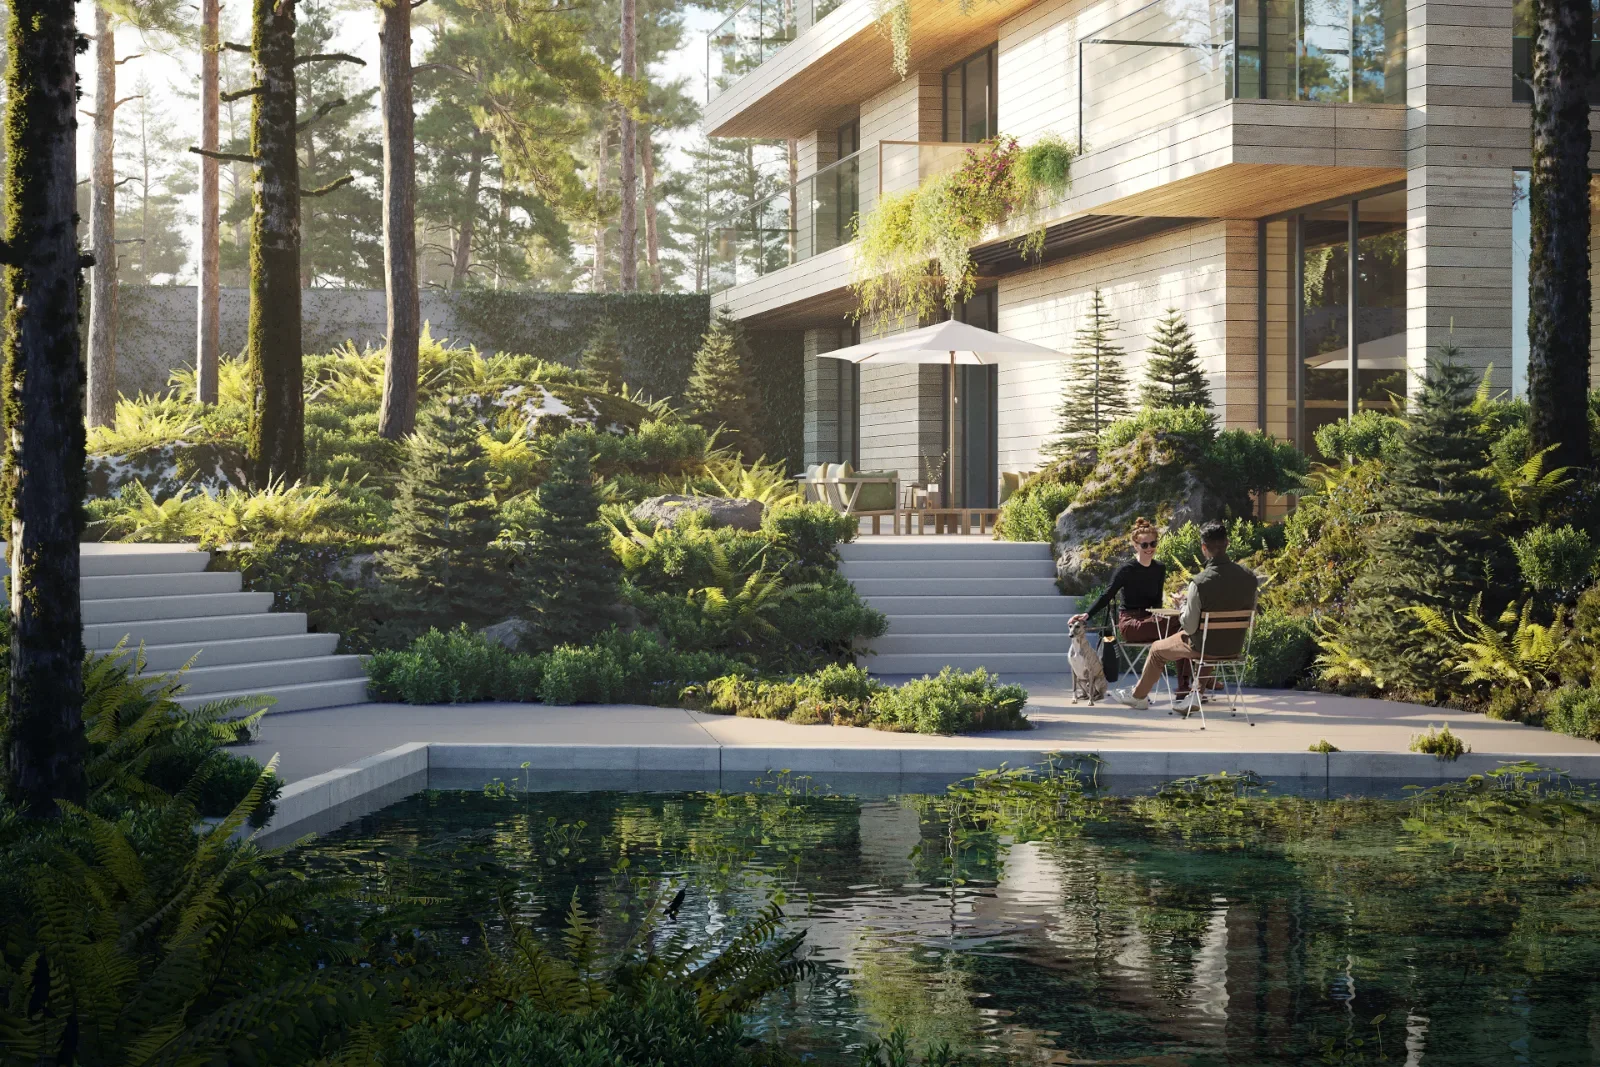
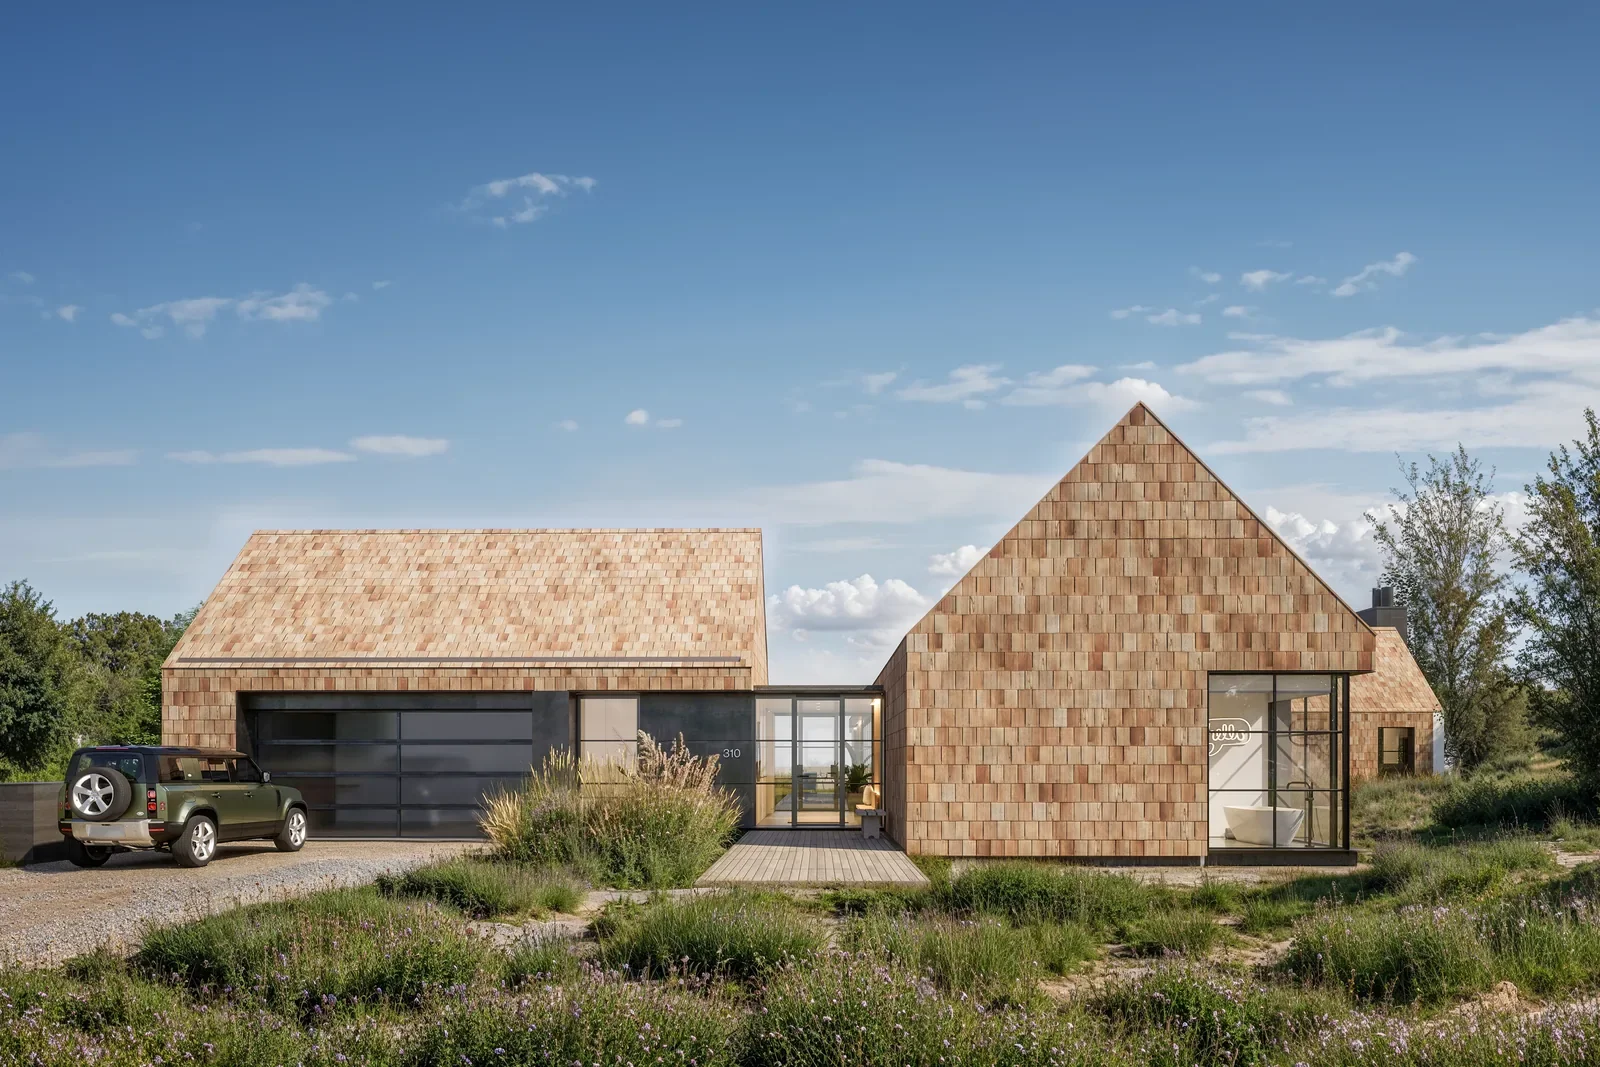
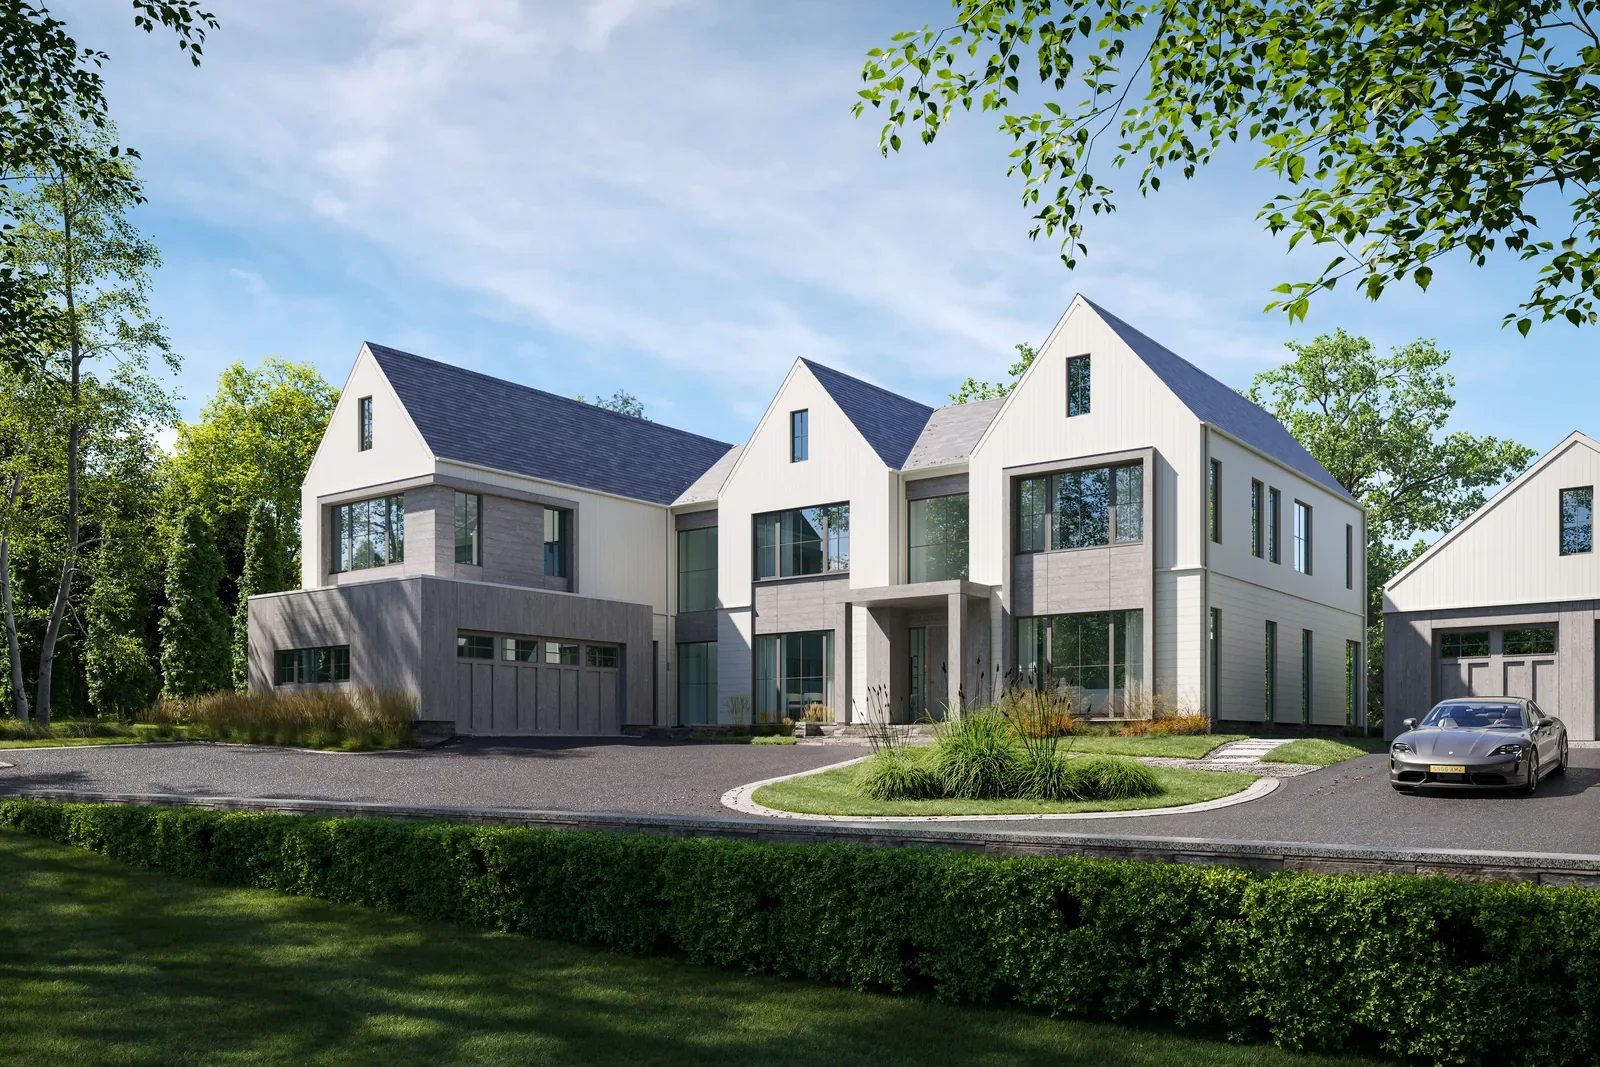
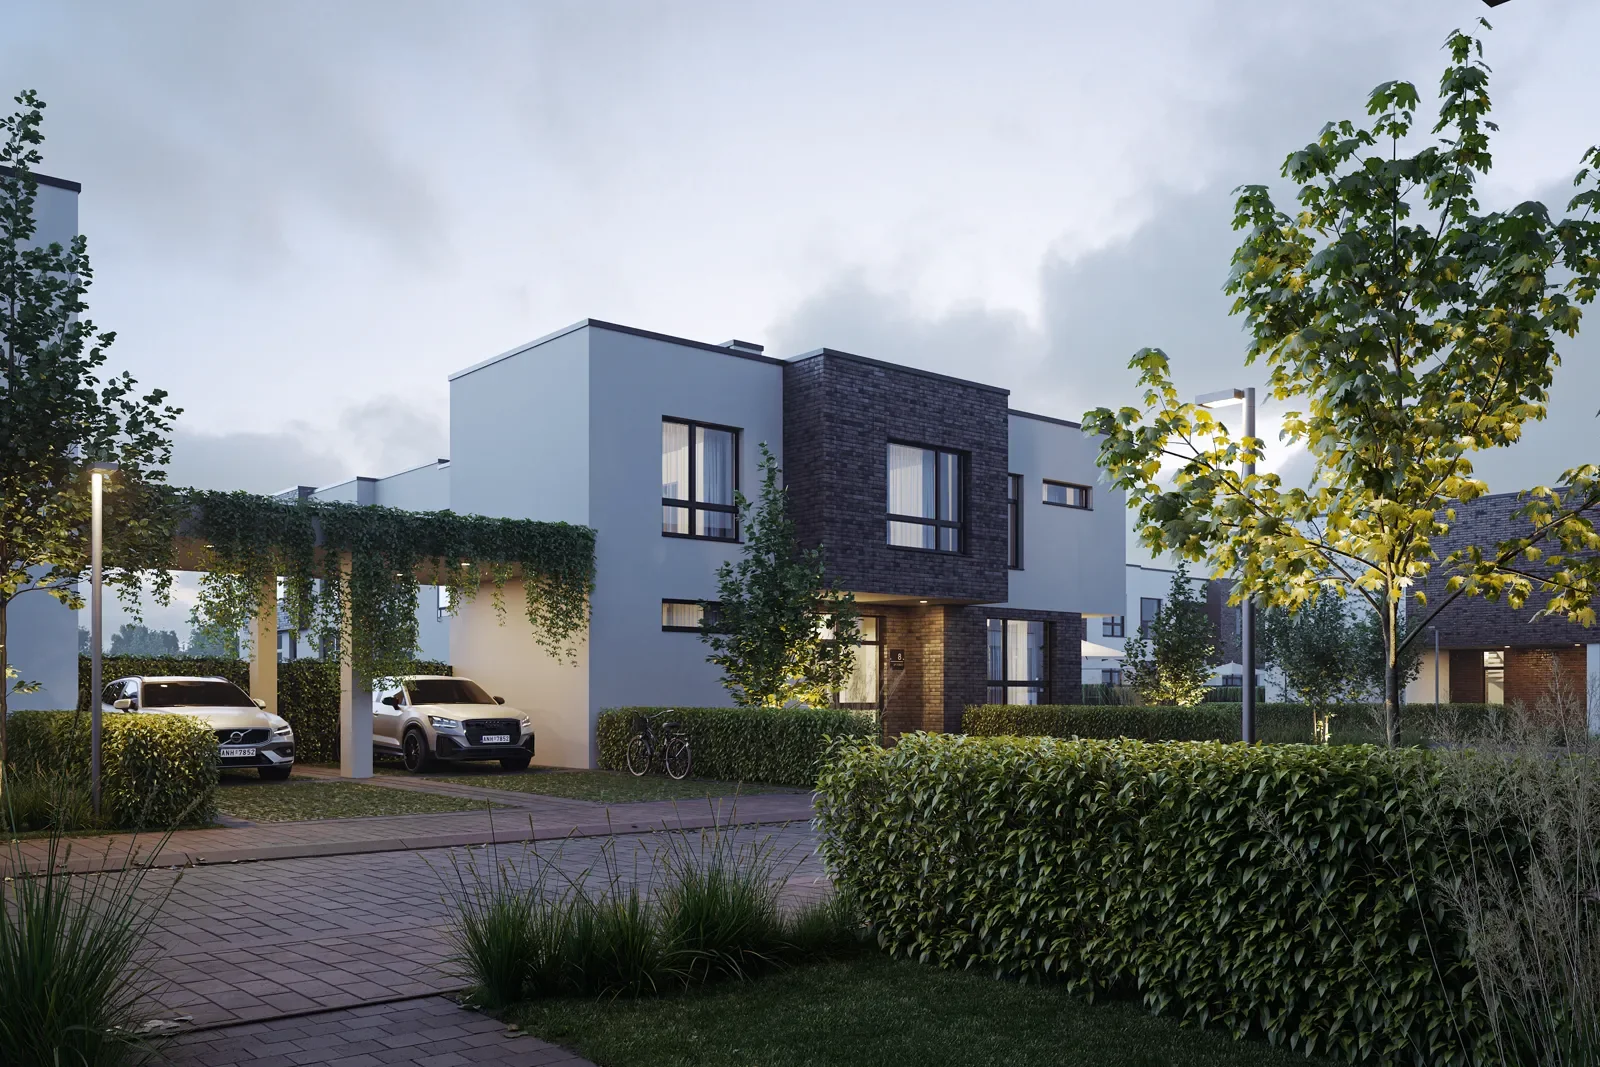
Student projects
Student work.


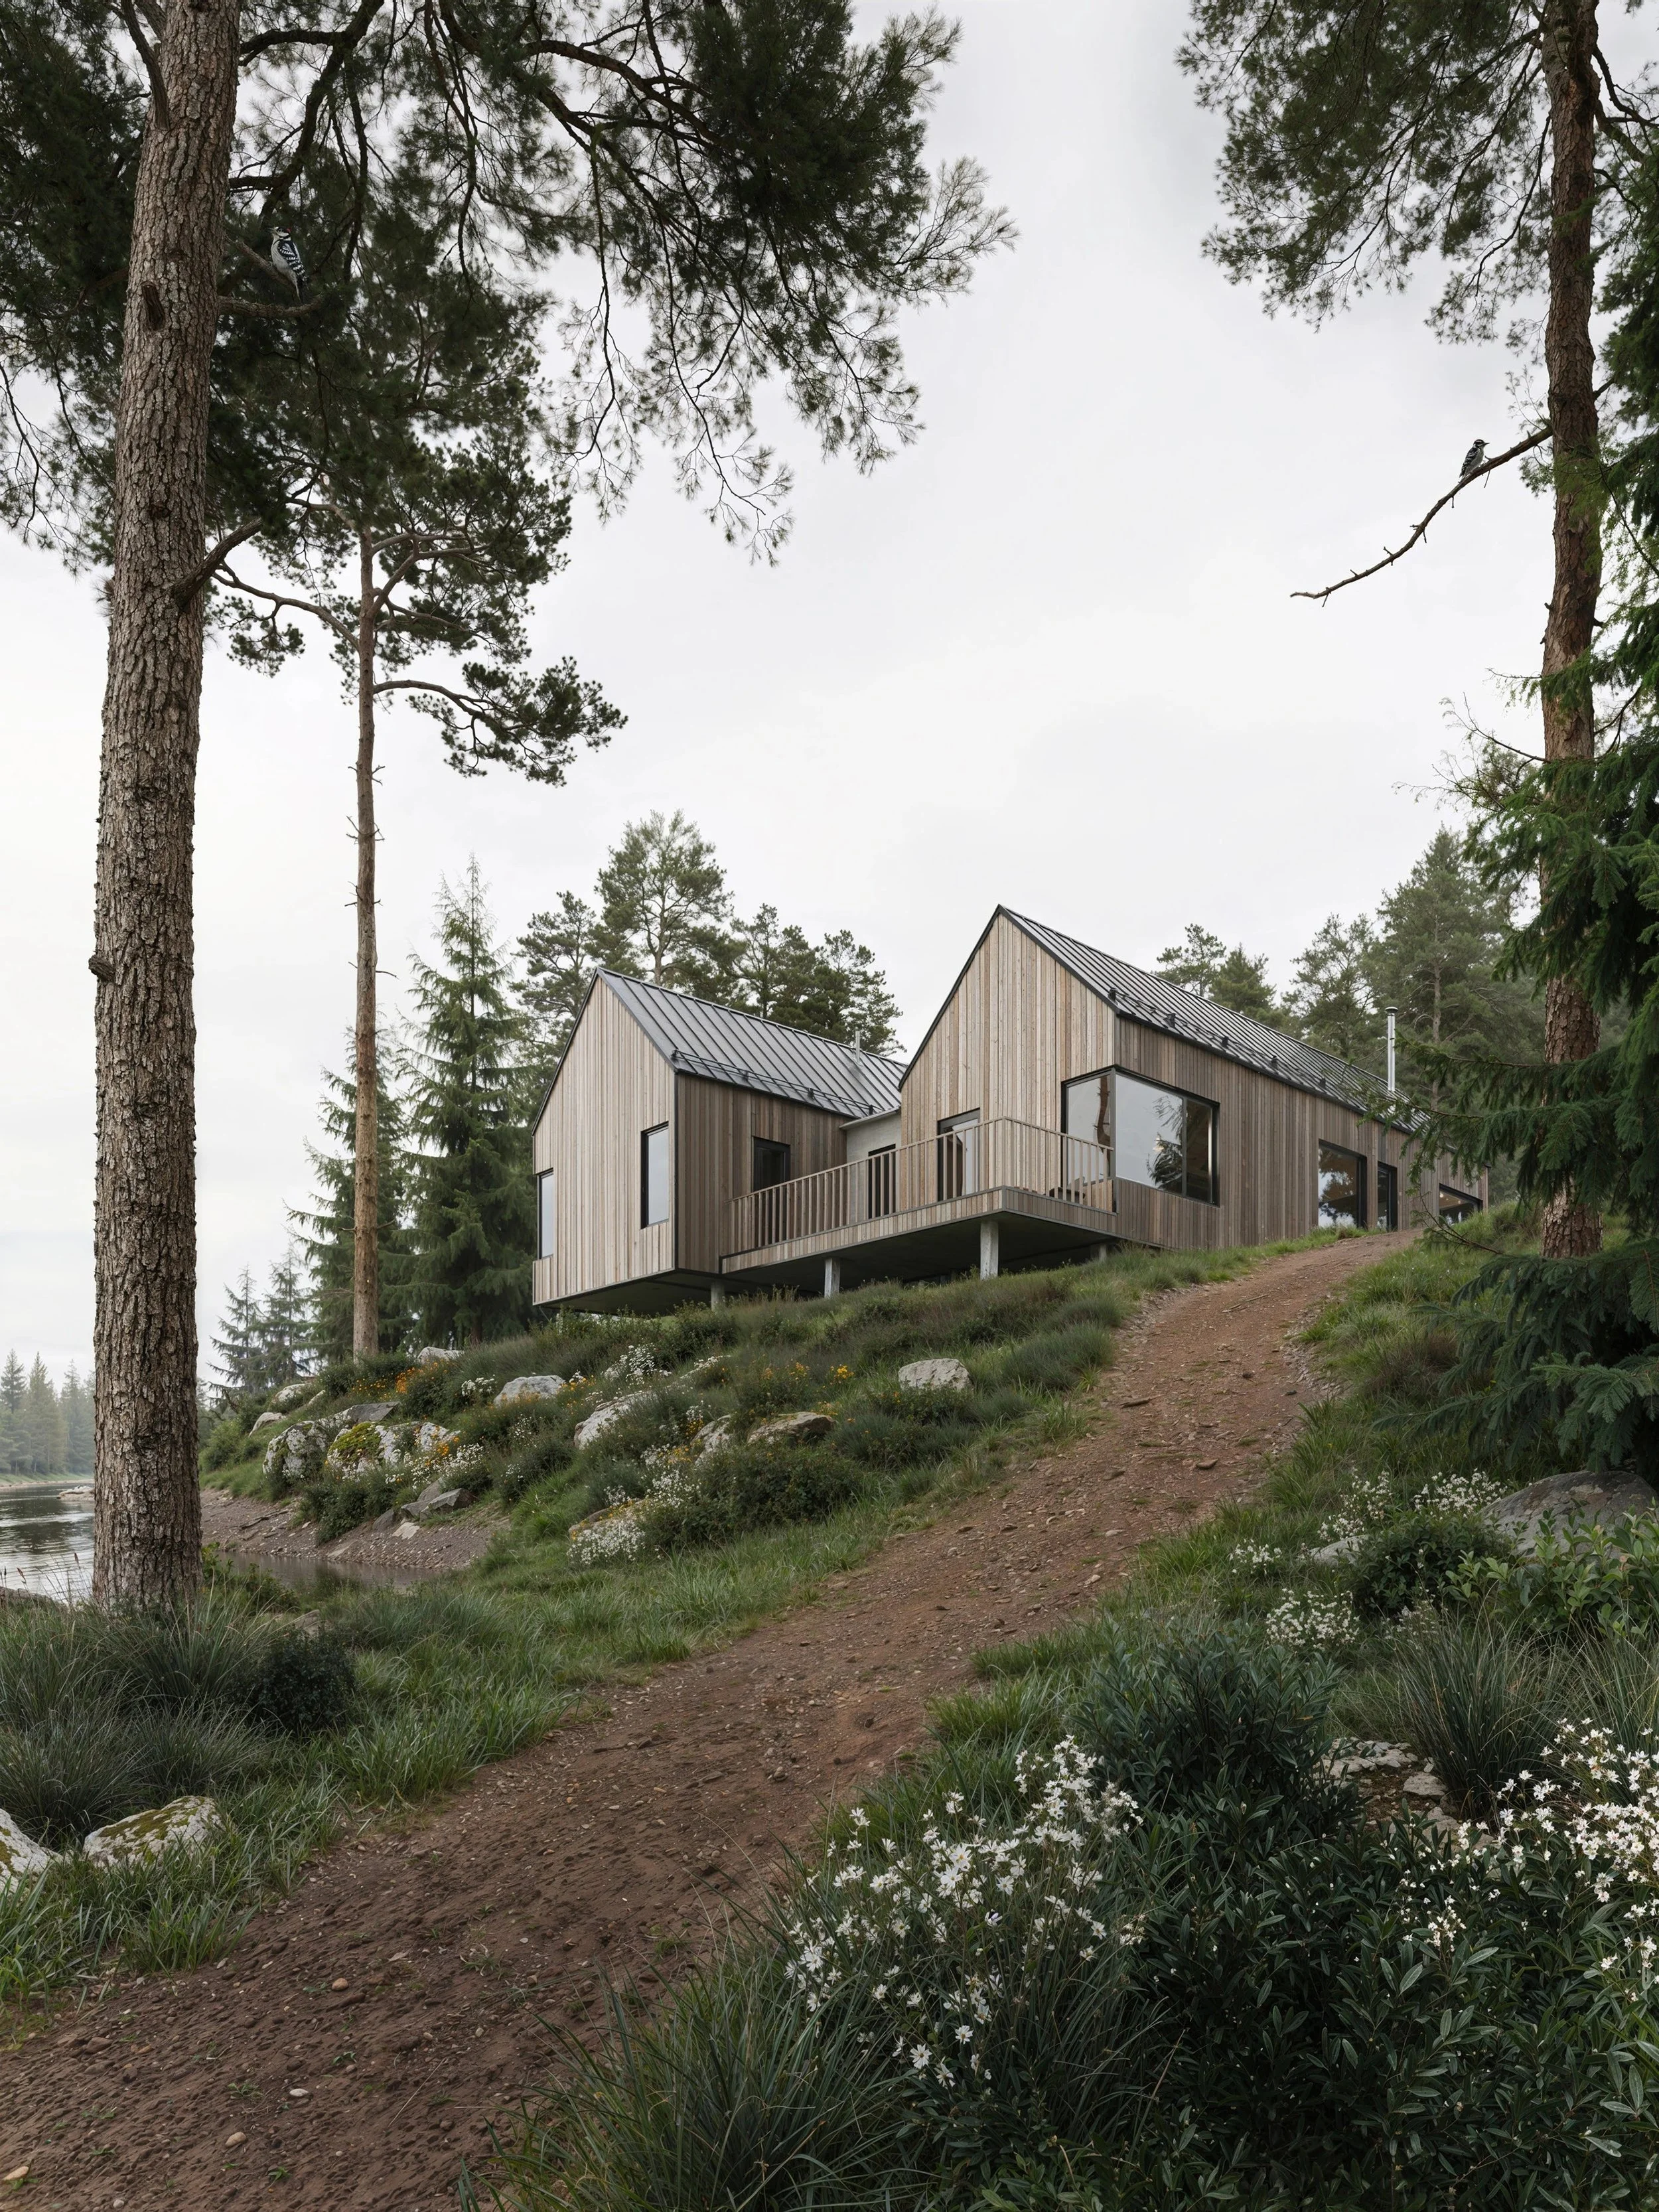
TIDE BOUND Ігор Здоровило · Exterior Pro 6.0
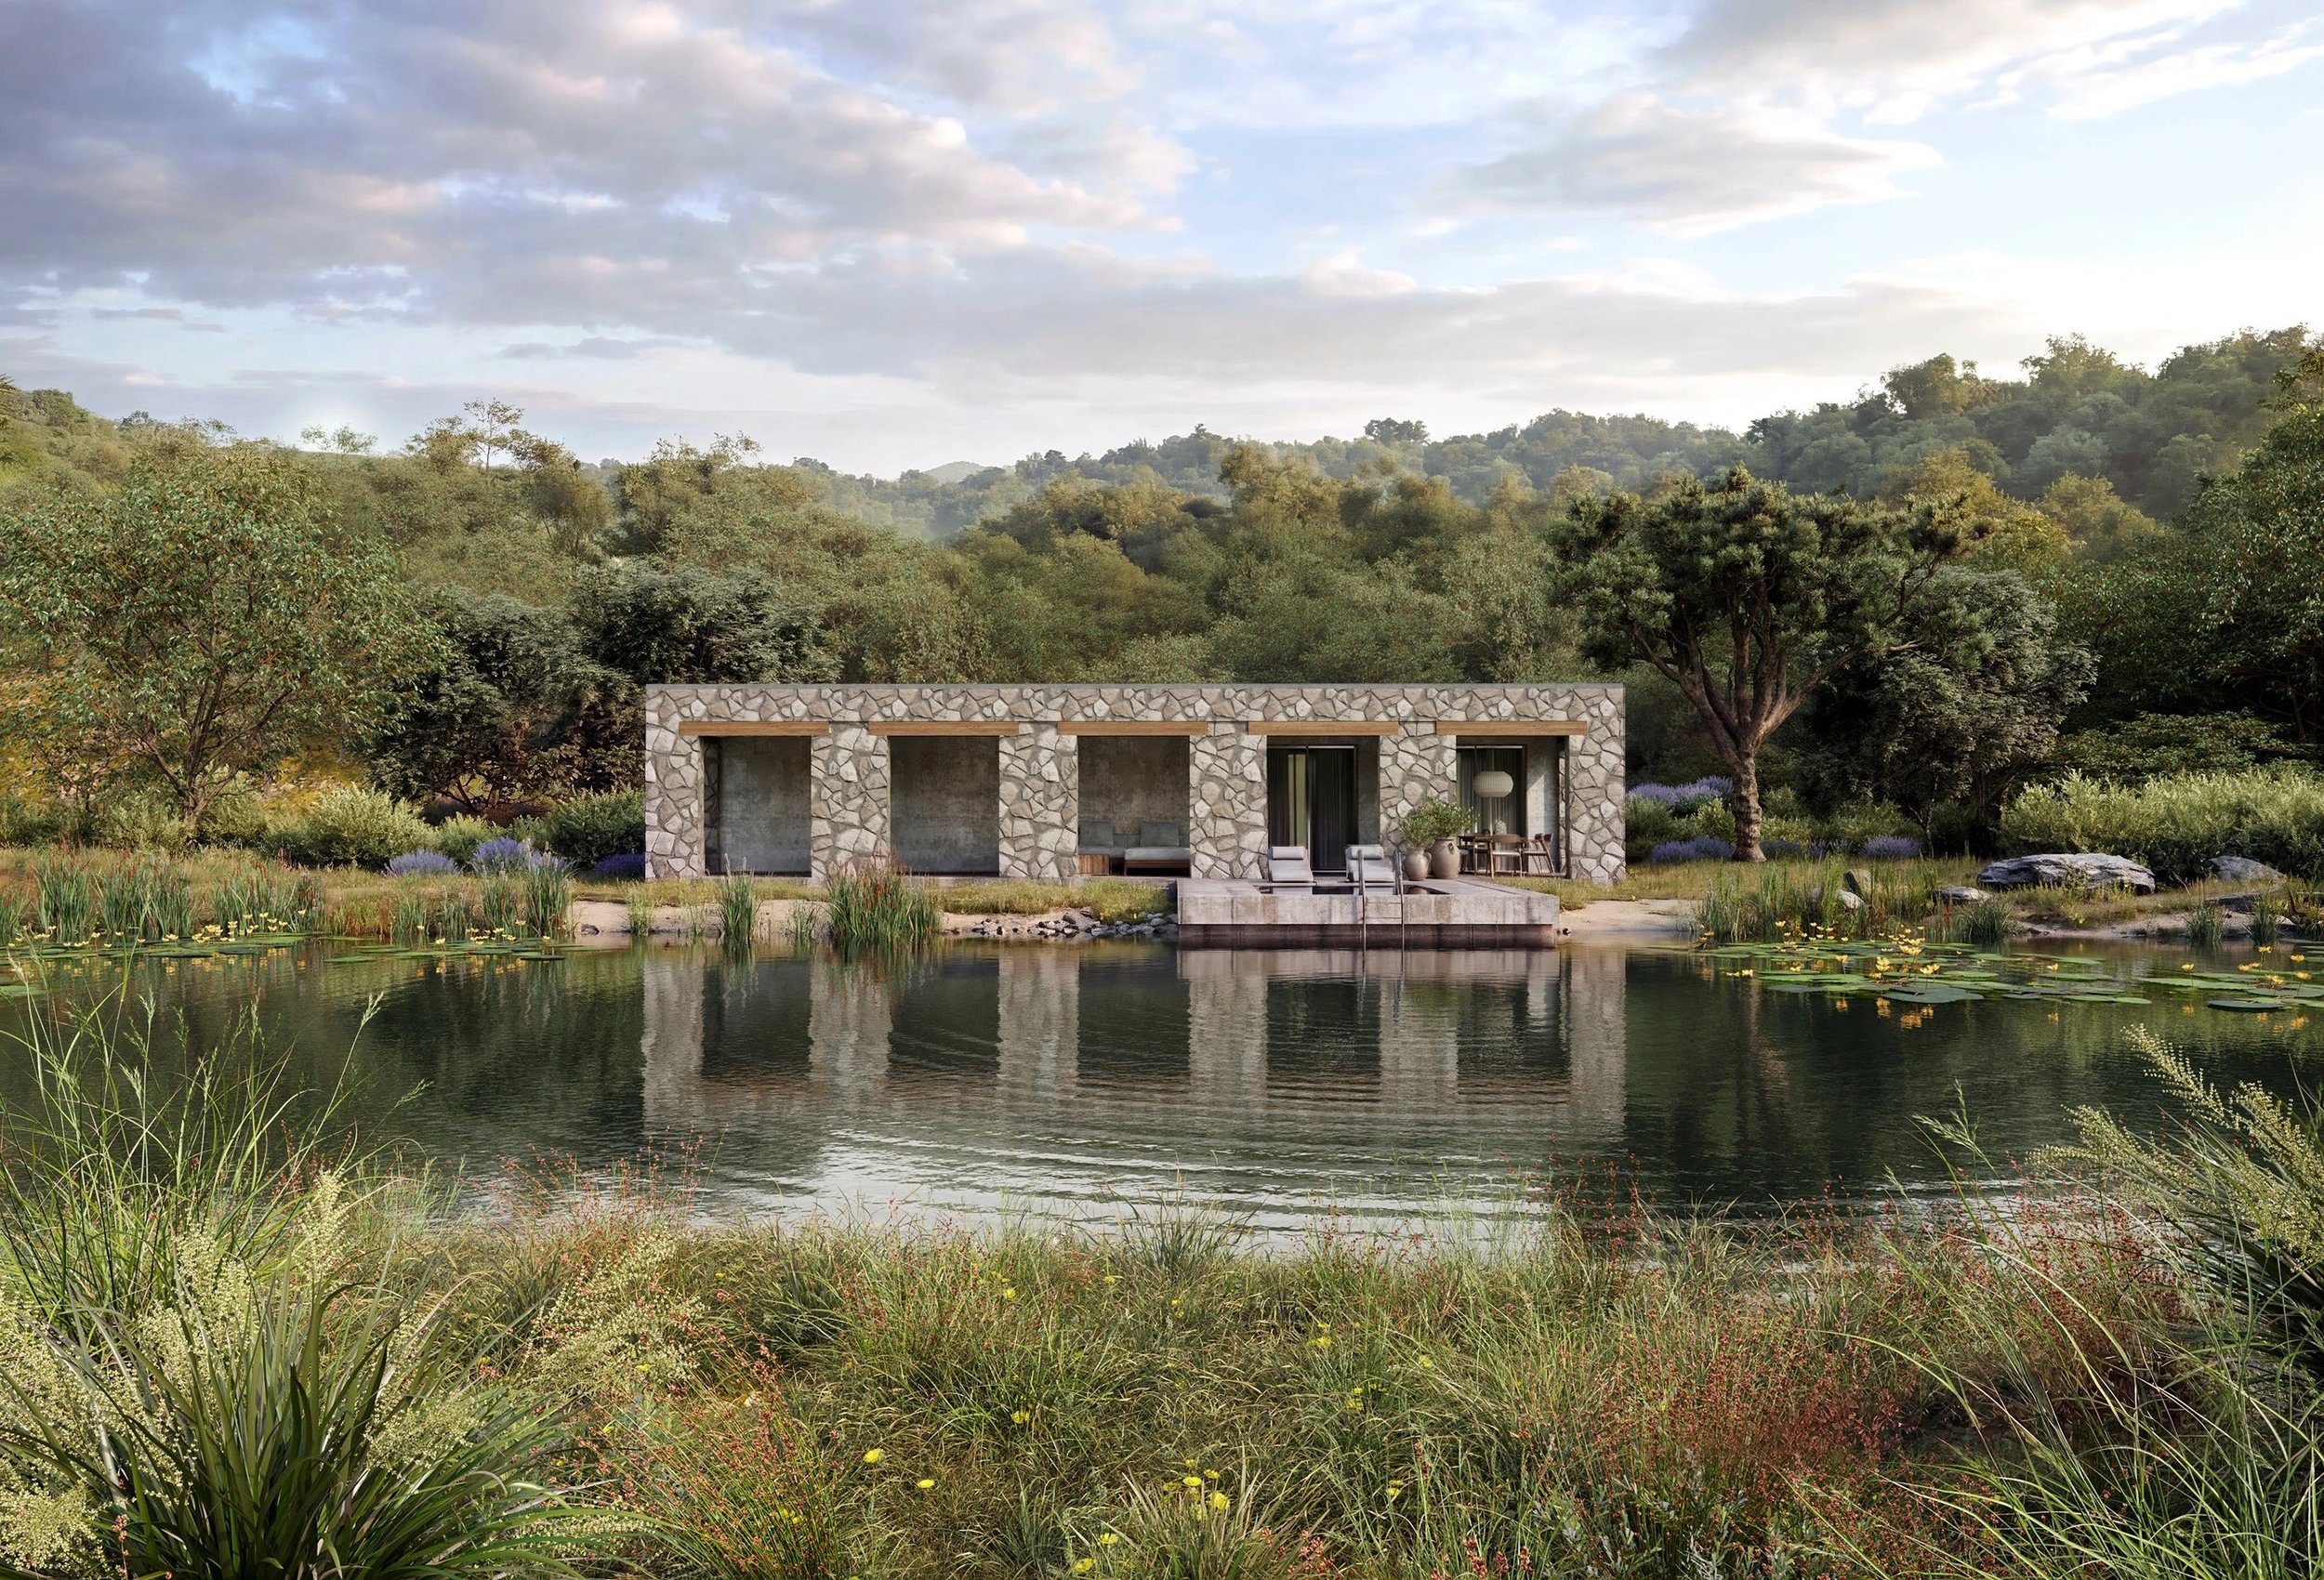
TORONJOS HOUSE Тетяна Козьменко · Exterior Pro 6.0
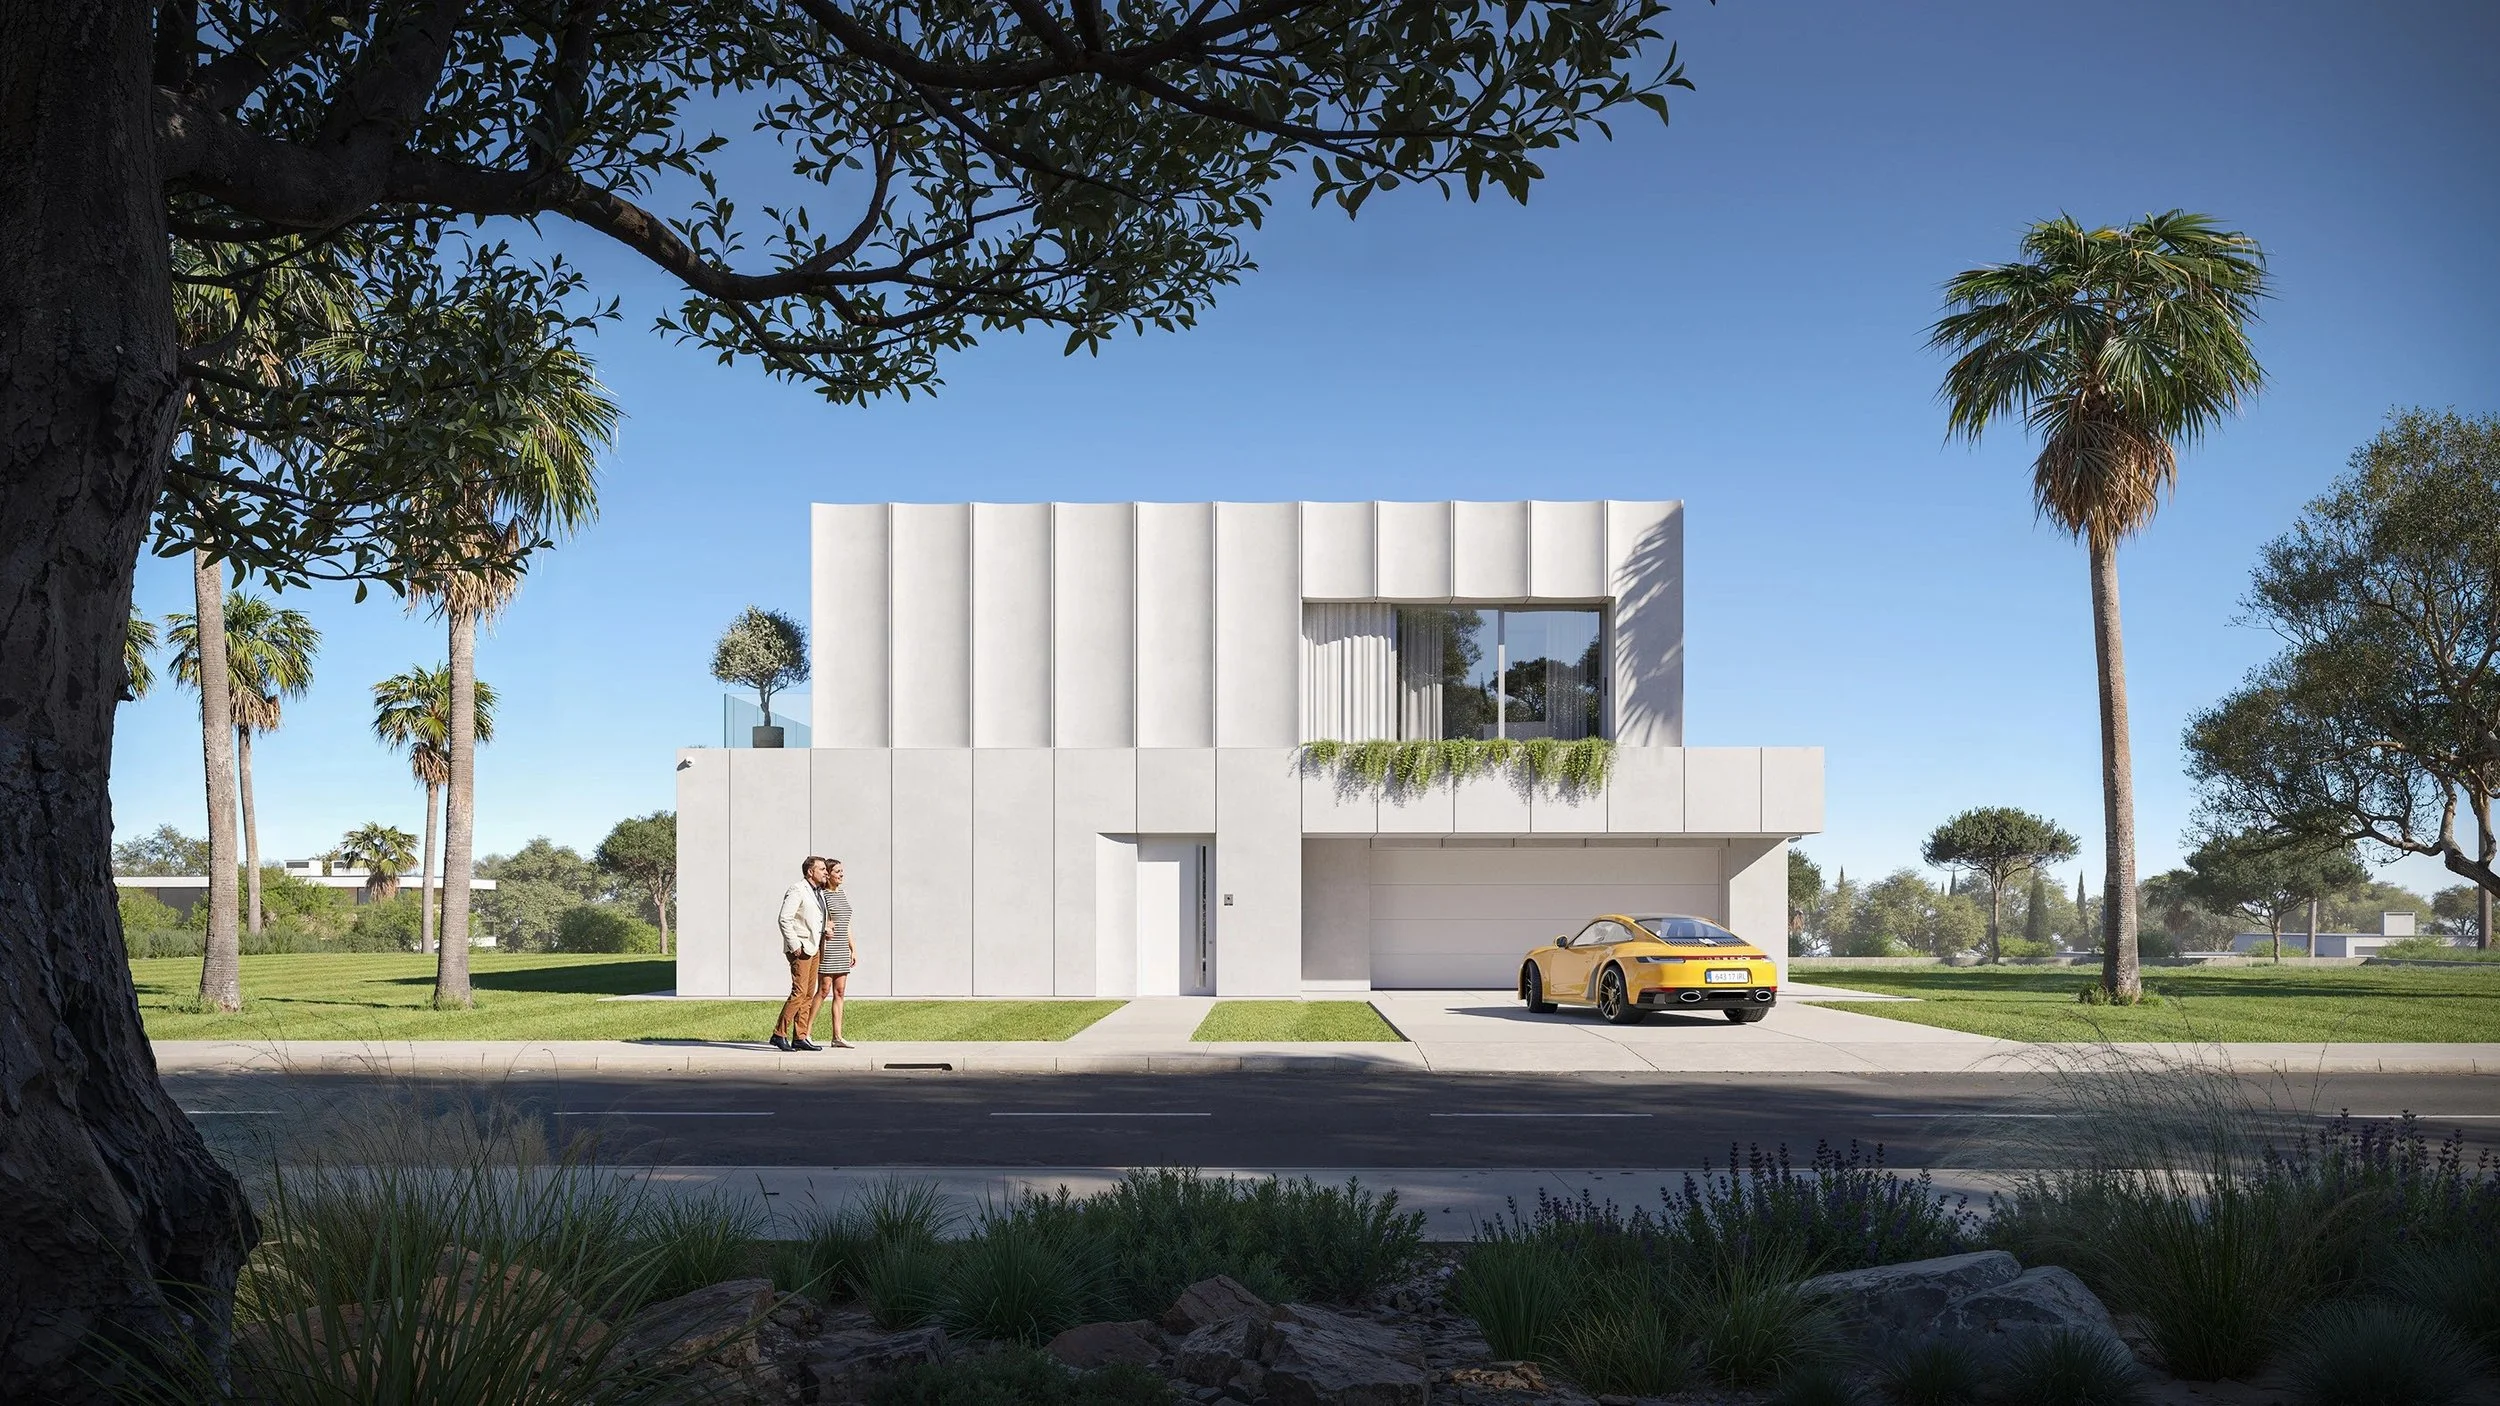
HOUSE IN WHITE Павло Гаркуша · Exterior Pro 6.0
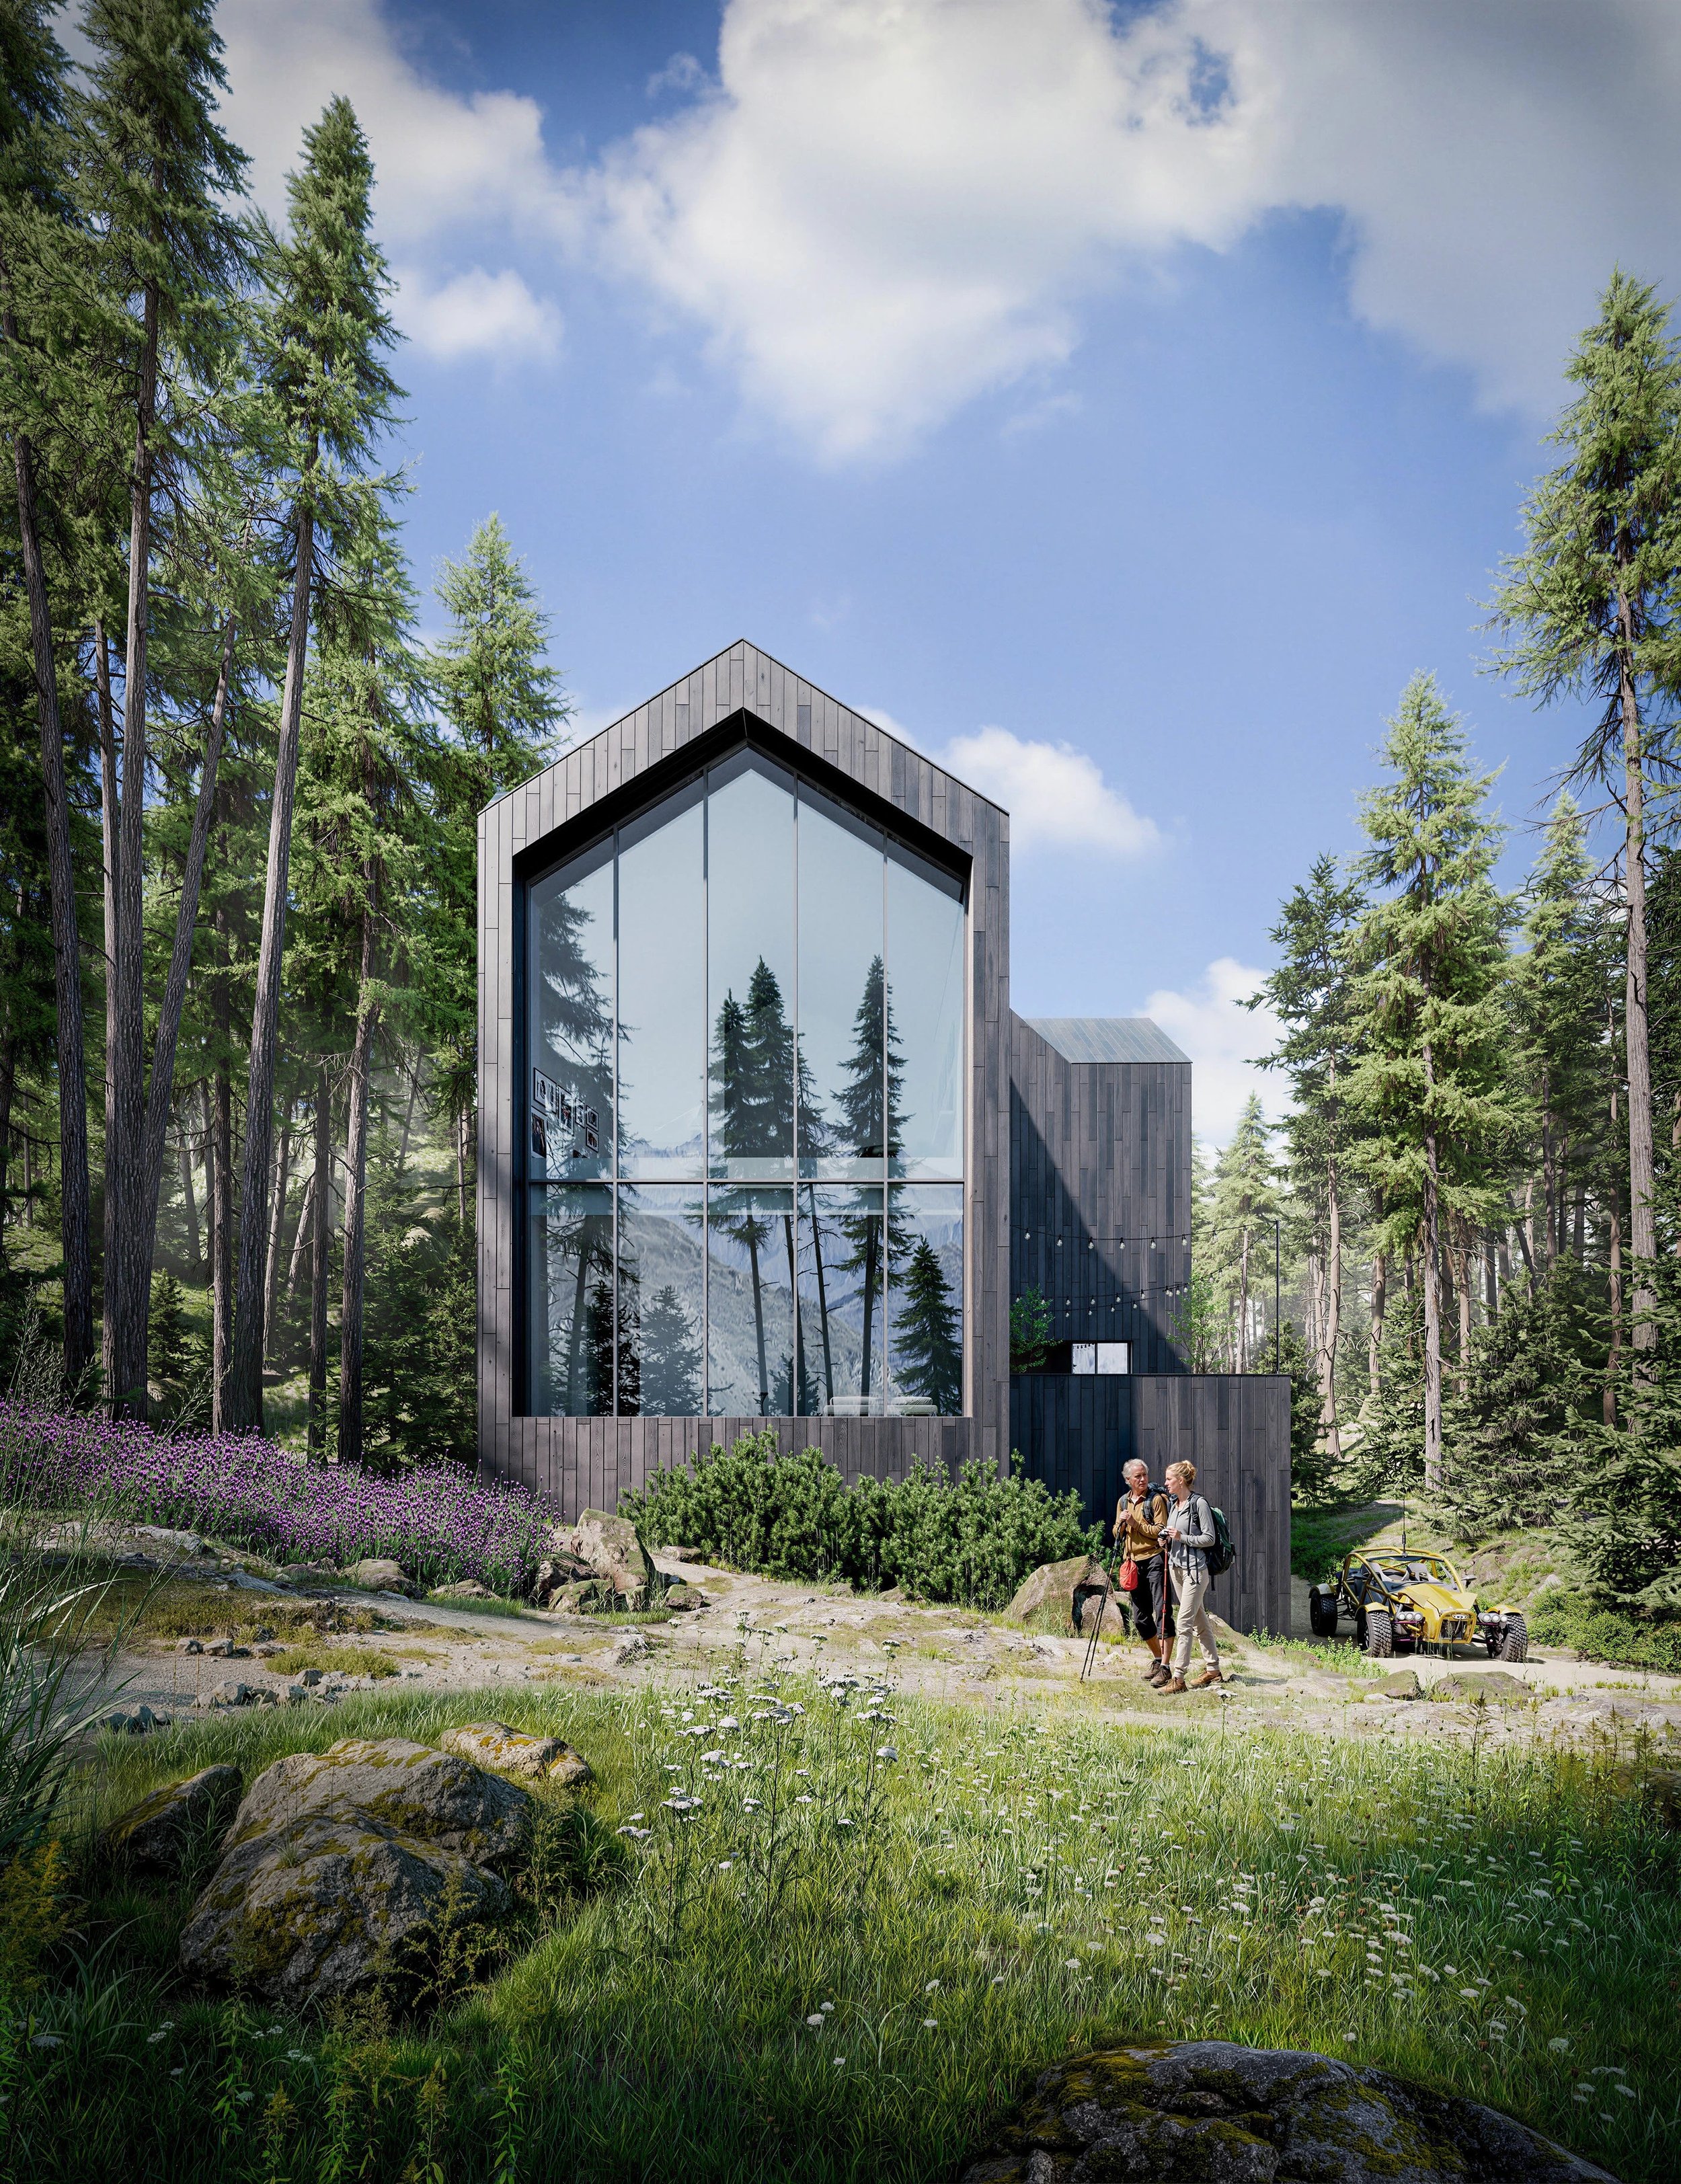
RE-FOLDED HOUSE Валерія Парненко · Exterior Pro 6.0
How it works
How the course works.
Video lessons
96 recorded lessons across 13 modules — watch at your own pace and rewatch anytime.
All plansSupport chat
Course group chat in Telegram: questions, files, useful materials and sharing experience between lessons.
All plansStudent portal
All lessons and materials in one place on the learning platform.
All plansMiro board
A personal board for your project. In plans with support, the curator reviews it twice a week for two months and comments right on your shots.
All plansThe cycle of every module
- 01
Watch
A video lesson covers the topic on real studio scenes.
- 02
Practice
Apply the topic to your own project.
- 03
Ask
Ask questions in the course chat anytime.
- 04
Share
Post your progress on your Miro board.
- 05
Feedback
Curator feedback on your board twice a week (plans with support).
- 06
Refine
Improve the shot based on the feedback.
- 07
Result
A series of atmospheric images for your portfolio.
Waitlist · English edition
Join the waitlist.
In production · Enrollment opens soon
The English edition of Exterior Pro is being recorded right now. Leave your name and email — we’ll write to you as soon as enrollment opens. Waitlist members get first access and early-bird pricing.
- 01Join the waitlist
- 02Get an email when enrollment opens
- 03Choose your plan at the early-bird price
Before you start
Questions & answers.
Is Exterior Pro suitable for beginners?
No. The course is designed for people who already have basic 3ds Max and Corona Renderer skills: you know the interface, can set up a scene and make a simple render. If you haven’t worked with these tools yet, write to us — we’ll suggest how to prepare.
How does the course work?
The course is fully recorded: 13 modules and 96 video lessons, designed to be completed in about two months. You watch at your own pace and apply each topic to your own project right away. Between lessons you can ask questions in the course chat and share files, references and progress.
What project will I work on?
Your own: a real or conceptual architectural project — a residential house or a small public building works best. Each module is a stage of work on it, so by the end of the course you’ll have a series of images for your portfolio.
Will my work be reviewed?
Yes, in plans with support. You upload your renders to your personal Miro board, and for two months the curator reviews it twice a week, commenting right on the image: what works, what to improve, how to strengthen composition, light, materials and atmosphere — the way art directors work in professional studios before a client delivery.
Will I have a Miro board?
Yes, every student gets a personal Miro board — a convenient place to collect references, stages and renders of your project. In plans with support, the curator reviews it twice a week for two months and comments on your work there. No sign-up needed: you’ll receive a link to your board.
Which software is used?
3ds Max, Corona Renderer, Adobe Photoshop, iToo Forest Pack, iToo RailClone, Pulze Scene Manager, plus AI tools and other plugins for working with scenes and libraries. We recommend current versions of 3ds Max and Corona Renderer.
What computer do I need?
Exteriors with lots of vegetation and detail are demanding. Minimum: Intel Core i9 or AMD Ryzen 9, 64 GB RAM, Windows 10/11, SSD. Ideal: latest-generation AMD Ryzen 9 or Threadripper, 128 GB RAM, a fast NVMe SSD and an NVIDIA RTX graphics card for a smooth viewport. Not sure? Send us your specs and we’ll advise.
When does it start and how much does it cost?
The English edition is in production right now. Plans and prices will be announced when enrollment opens. Join the waitlist to hear first and get the early-bird price.
Can I ask questions during the course?
Yes. The course has a group chat in Telegram where you can ask questions, share files, references and progress — anytime, without waiting for the next lesson.
Will I get a certificate?
Yes, in plans with support — for students who finish their project with final images by the end of the course.